
06 Aug Make Landscape Images that Rock
No matter where your adventures take you, you are bound to experience awesome landscapes. In this column I’ll share with you some quick tips for capturing those landscapes with your digital camera – so you can relieve your experience and share your experience with family and friends.

Time of Day – Professional photographers like to make landscape photographs during the “golden hours” – around the time the sun rises and sets. In addition to the “warm” colors (deeper shades of red, yellow and orange) of the golden hours, long shadows add a sense of depth and dimension to a photograph.
Try to plan your day so you can be at an ideal sunrise or sunset location during those wonderful moments. Also, plan to arrive well before the sun rises and to stay a while after the sun goes down. Sometimes the best light makes a surprise appearance at these times.
To help you find the best light and best sunrise and sunset position, check out my Photo Sundial iPhone and iPad app.

Lenses – Wide-angle lenses in the 16mm to 24mm are often used for landscape photography because they capture a wide view and because they help to get the entire scene in focus – so a photograph looks like it looks to your eyes: everything in focus. The wider the lens, and the smaller the aperture, the more of the scene you will get in focus.
For maximum depth of field, set your aperture at f/16 or f/22 and set your focus 1/3 into the scene. Don’t rely on your camera to know where you want to focus.

Telephoto lenses can also be used for landscape photography because they let you isolate elements in the scene.

Filters – A polarizing filter can darken a blue sky and whiten clouds. It can also reduce reflections on water, foliage and glass. A polarizing filter is most effect when the sun is at a 90-degee angle to where you are pointing your camera.

A neutral density (ND) filter reduces the amount of light entering your lens, allowing you to shoot at slow shutter speeds in bright light. Using slow shutter speeds (1/4 second and slower) when photographing moving water produces the silky, smooth effect illustrated here.
I use a Tiffen circular polarizing filter and a Tiffen ND filter.

Tripod – A tripod slows you down. This is a good thing when it comes to landscape photography – because it gives you time to think. A tripod also steadies your camera, which is important when shooting at slow shutter speeds and during the golden hours.
Don’t skimp on a cheap tripod. Most of the people who come on my workshops with inexpensive tripods leave with the idea to get a good one as soon as they get home.

Clothing – I always pack my NEOS overshoes when I go on a landscape shoot. These lightweight and waterproof shoes keep my feet dry when I am shooting in and around water. You can order NEOS from OutdoorPhotoGear.com.

Composition – There are many rules of composition. My favorites: don’t place the horizon line in the middle of the frame and dead center is deadly, which means don’t place the main subject in the center of the frame.
For lots more on composition, check out my KelbyOne class, Composition – the strongest was of seeing.

Color or Black-and-White – Color photographs are nice, but black-and-white images can look more artistic, because some of the reality is removed from the scene.
You can make awesome black-and-white images in Photoshop, Lightroom, iPhoto, etc. When making black-and-white images, keep in mind that contrast, shadows and highlights become very important – because the viewer is not influenced by the full color spectrum.

HDR – High Dynamic Range (HDR) photography, a process in which you take several exposures at different settings and then blend them into a single image, is beneficial when taking landscape photograph in high-contrast situations. You can read more about HDR in this video, HDR Must-Know Info.

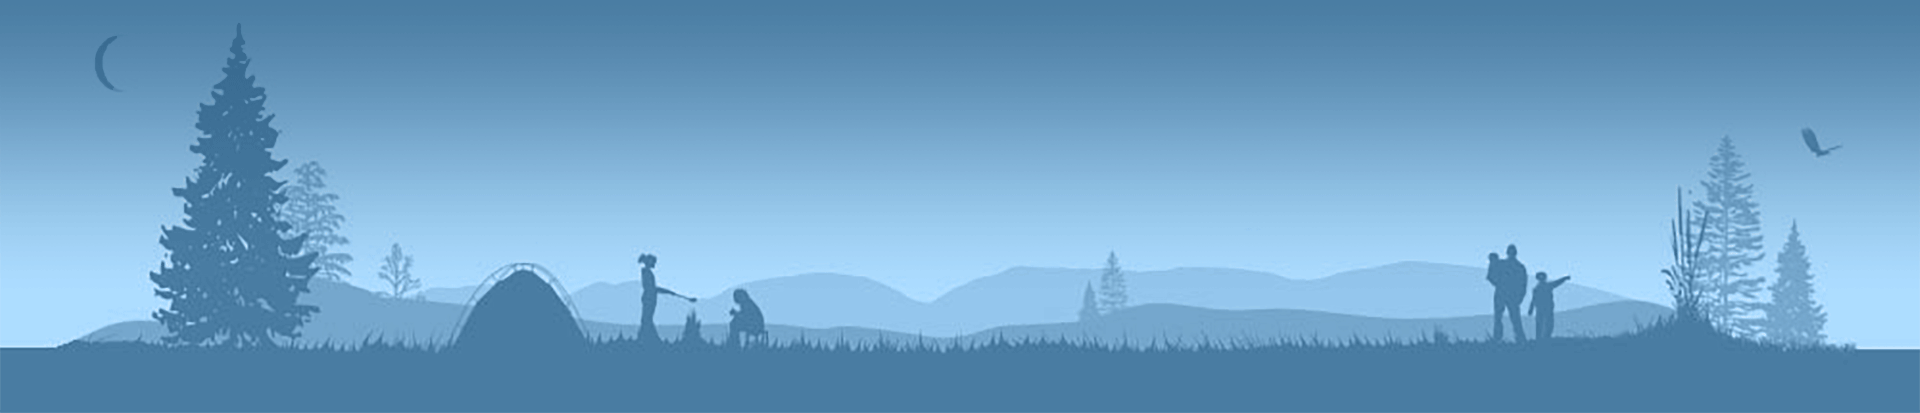
People in the Frame – When you include a person in a photograph you add a human touch and a sense of scale to a landscape image – or can create what is called a lifestyle photograph.
Some landscape photographers are against showing what is called “the hand of man” in photograph. My philosophy: shoot it both ways, and see which one your like best when processing your images.
Enjoy your landscape adventure, and don’t forget to stop and smell the roses.
Latest posts by Rick Sammon (see all)
- Perfecting Panoramas - April 25, 2015
- Making Images With Impact: Part 3 - March 23, 2015
- Making Images With Impact: Part Two - February 25, 2015
No Comments